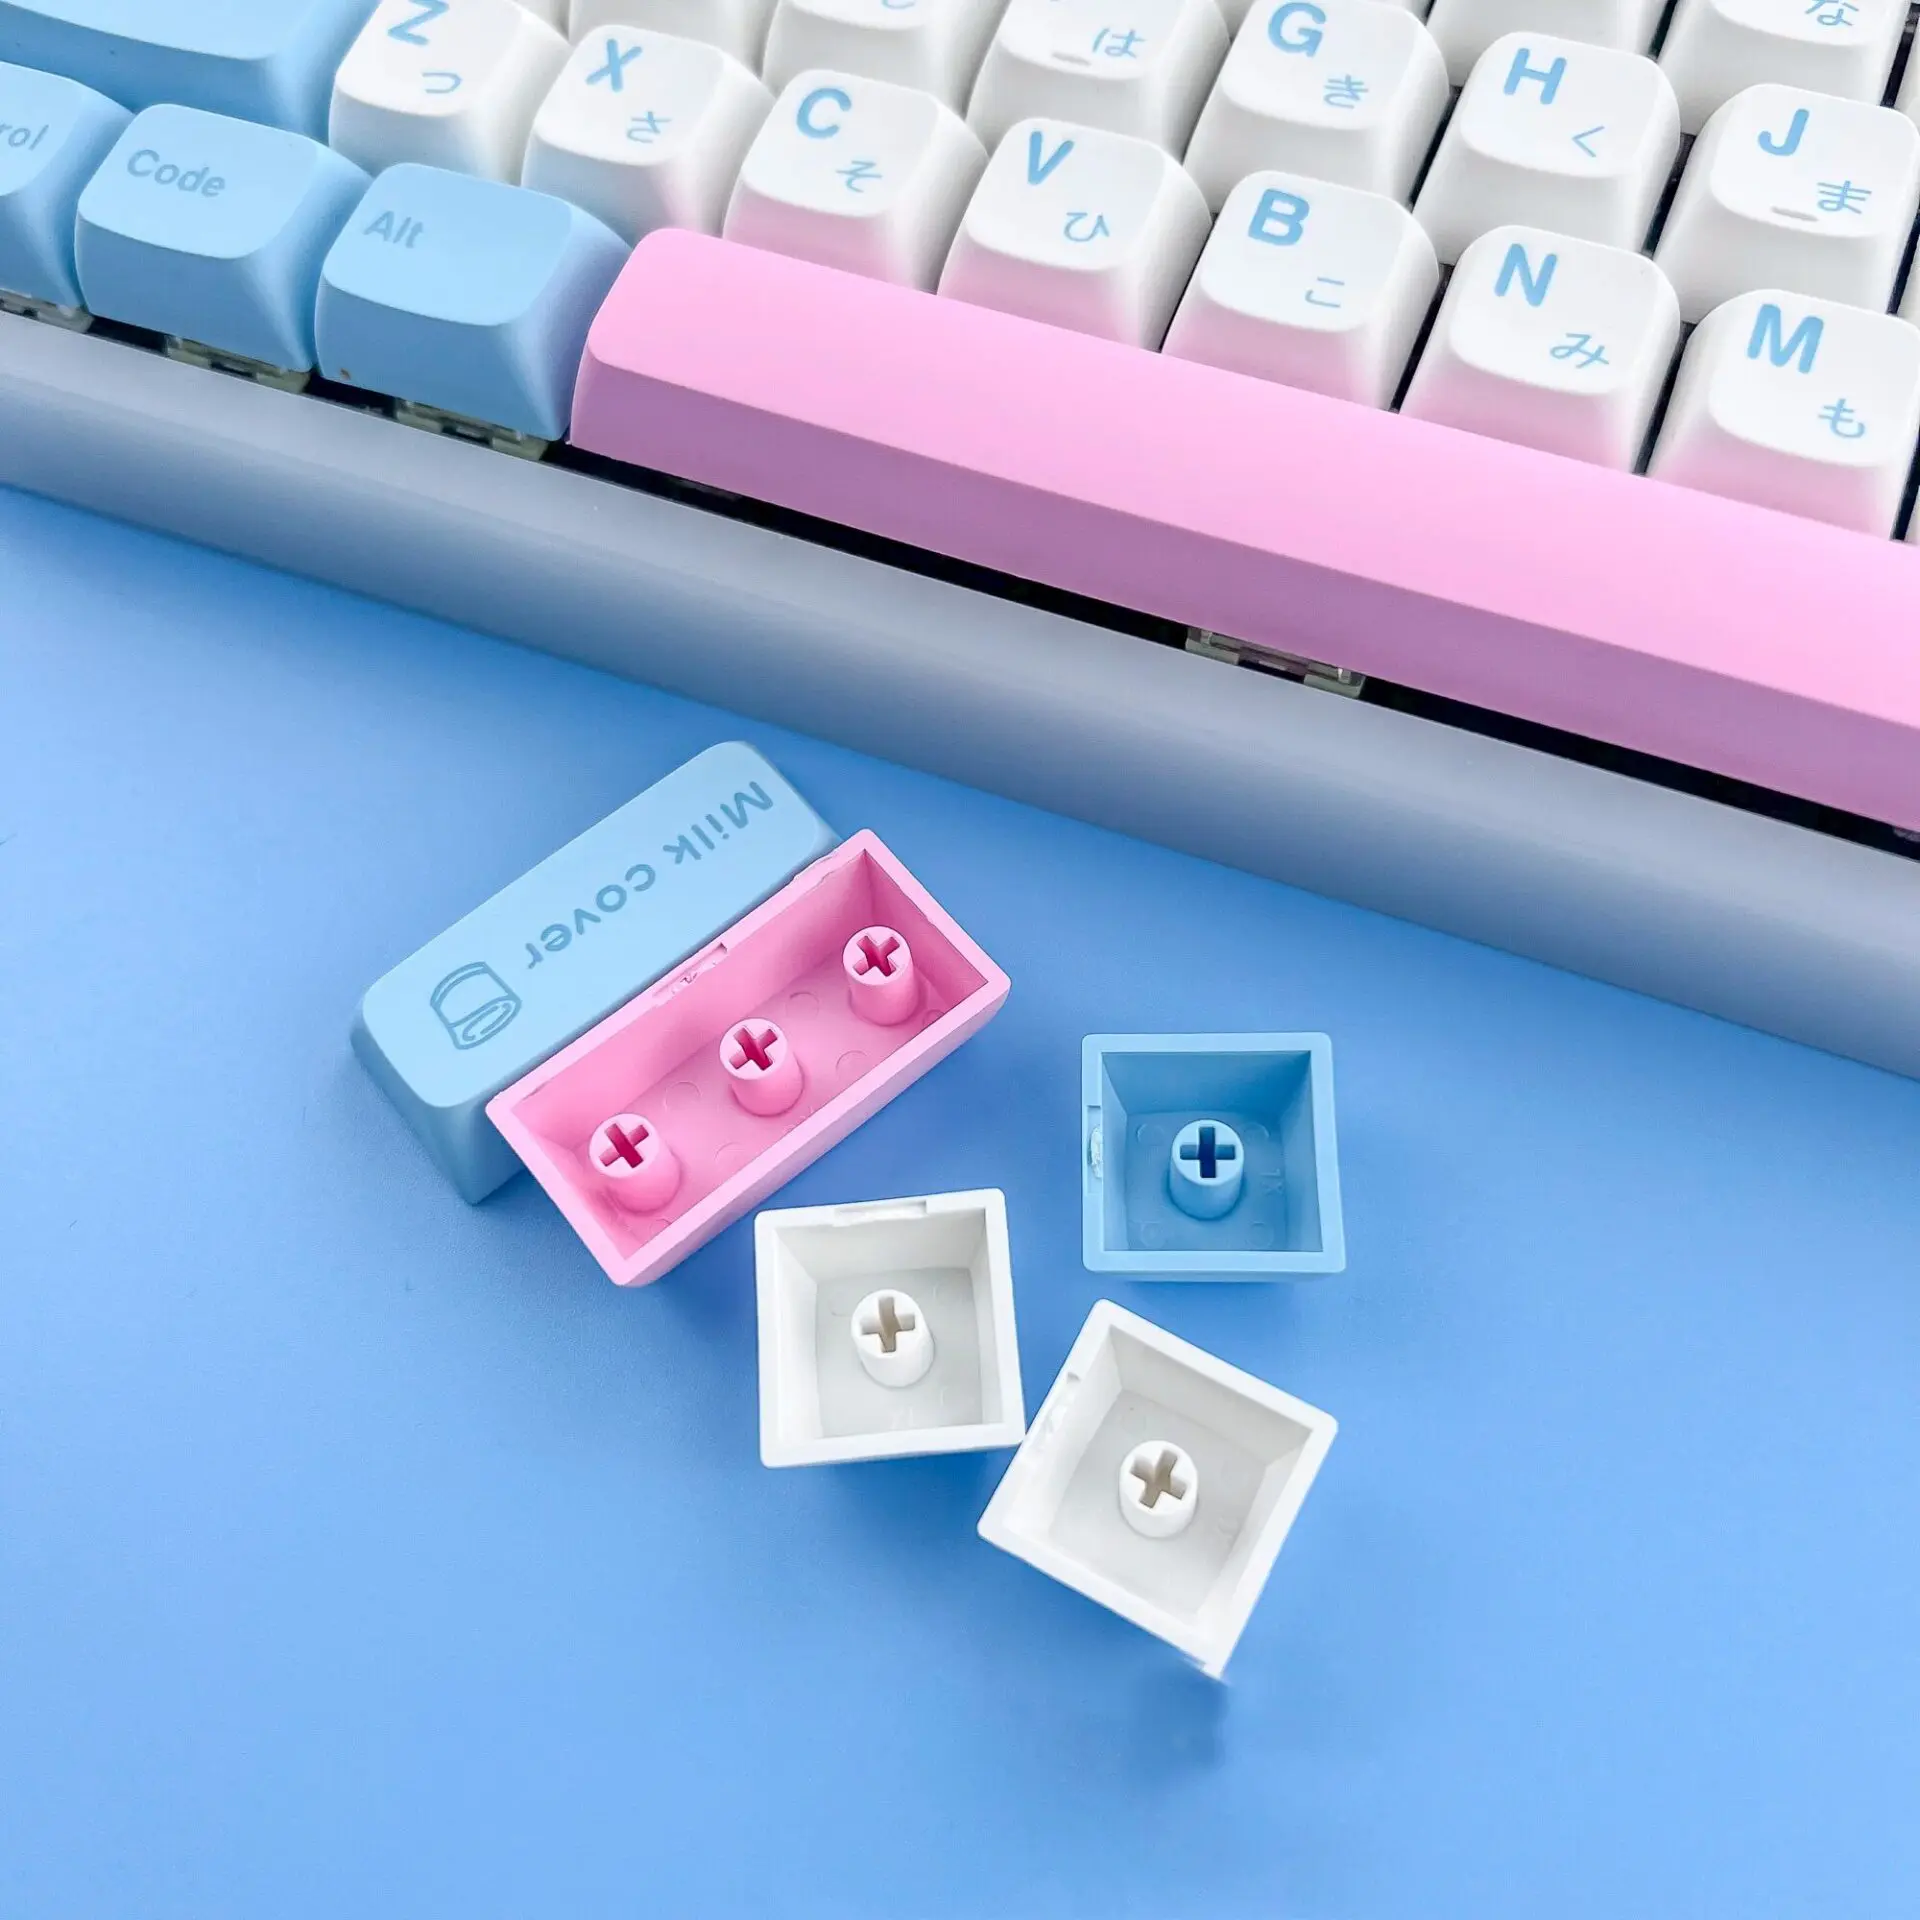
Hey there, set-up enthusiasts! If you’ve ever wondered how to keep your keycaps looking as fresh and cleaner as the day you unboxed them, you’re in the right place. In this detailed guide, we’ll walk you through the art of keyboard cleaning, ensuring they stay pristine and ready for action. So, buckle up as we embark on this journey to unlock the secrets of maintaining and deep cleaning!
Why Keycaps Deserve Special Attention
GMK are a pinnacle in mechanical keyboard aesthetics, known for their quality and intricate designs. However, keeping them in top-notch condition requires a bit of TLC. Before we delve into the cleaning process, let’s understand why these deserve special attention.
The Intricate Beauty of Keycaps
These are not just keycaps; they are a work of art. Crafted with precision and attention to detail, these keycaps come in various sets, each telling a unique story through colors and legends. As a proud owner of keycaps, you’ll want to preserve their beauty for the long run.
The Importance of Cleaning Keycaps and your Mechanical Keyboard
Like any prized possession, they benefit from regular cleaning. Dust, oils, and daily wear can accumulate over time, diminishing the vibrancy of the keycaps and affecting the typing experience. Now, let’s jump into the nitty-gritty of how to clean your GMK keycaps.
Step by Step Guide on How to Clean your Mechanical Keyboard and Give a Deep Cleaning to all PCB Keycaps
Clean your mechanical keybord and follow the best practices for cleaning! guide is a straightforward process that requires minimal effort. Follow these simple steps through the way to clean, and keep your keycaps looking brand new:
Step 1: Remove Keycaps Safely
Start by carefully removing the keycaps from your keyboard using a puller. Gently wiggle the puller beneath each keycap so you don’t damage your keyboard.
Step 2: Prepare a Soapy Bath
Fill a bowl with warm water and add a mild dish soap. Submerge the keycaps in the soapy solution, ensuring they are fully covered.
Step 3: Scrub Away Dirt
Use a soft brush or an old toothbrush and brush to remove away any dirt or grime on the keycaps. Pay extra attention to the spaces between the keycap legends.
Step 4: Rinse Thoroughly
After scrubbing, rinse the keycaps under running water to remove soap residue and removing dust. Ensure your keyboard and all keycaps are clean and free of any cleaning agents.
Step 5: Dry Completely
Allow the keycaps to air dry completely before reattaching them to your keyboard. Ensure they are thoroughly dry to prevent any water damage.
Regular Dusting and Wiping
To prevent dust buildup, make it a habit to dust your keyboard regularly. Using compressed air, acetone, spray bottle, a quick wipe, q-tip, or even lube and tweezers makes it easier to clean the surgace of the keyboard and mechanical keyboard switches. Another tip is to use a damp cloth to dust between keys and to to use isopropyl alcohol for build-up dirt. That way you can clean thoroughly before putting switches and keycaps back on the keyboard.
Congratulations! You’ve mastered the art of cleaning and maintaining your keycaps. Picture of your keyboard on its best view! Incorporating these simple practices into your routine works great to avoid get dirty and you ensure that your keycaps remain a testament to their original beauty. Remember, a little care goes a long way in preserving the intricate details and colors that make your set truly special.
If you’re ready to get a set, then don’t forget to visit our store, where you’ll not only find the best keycap sets ever, but also a bunch or accessories and cleaning tools!


